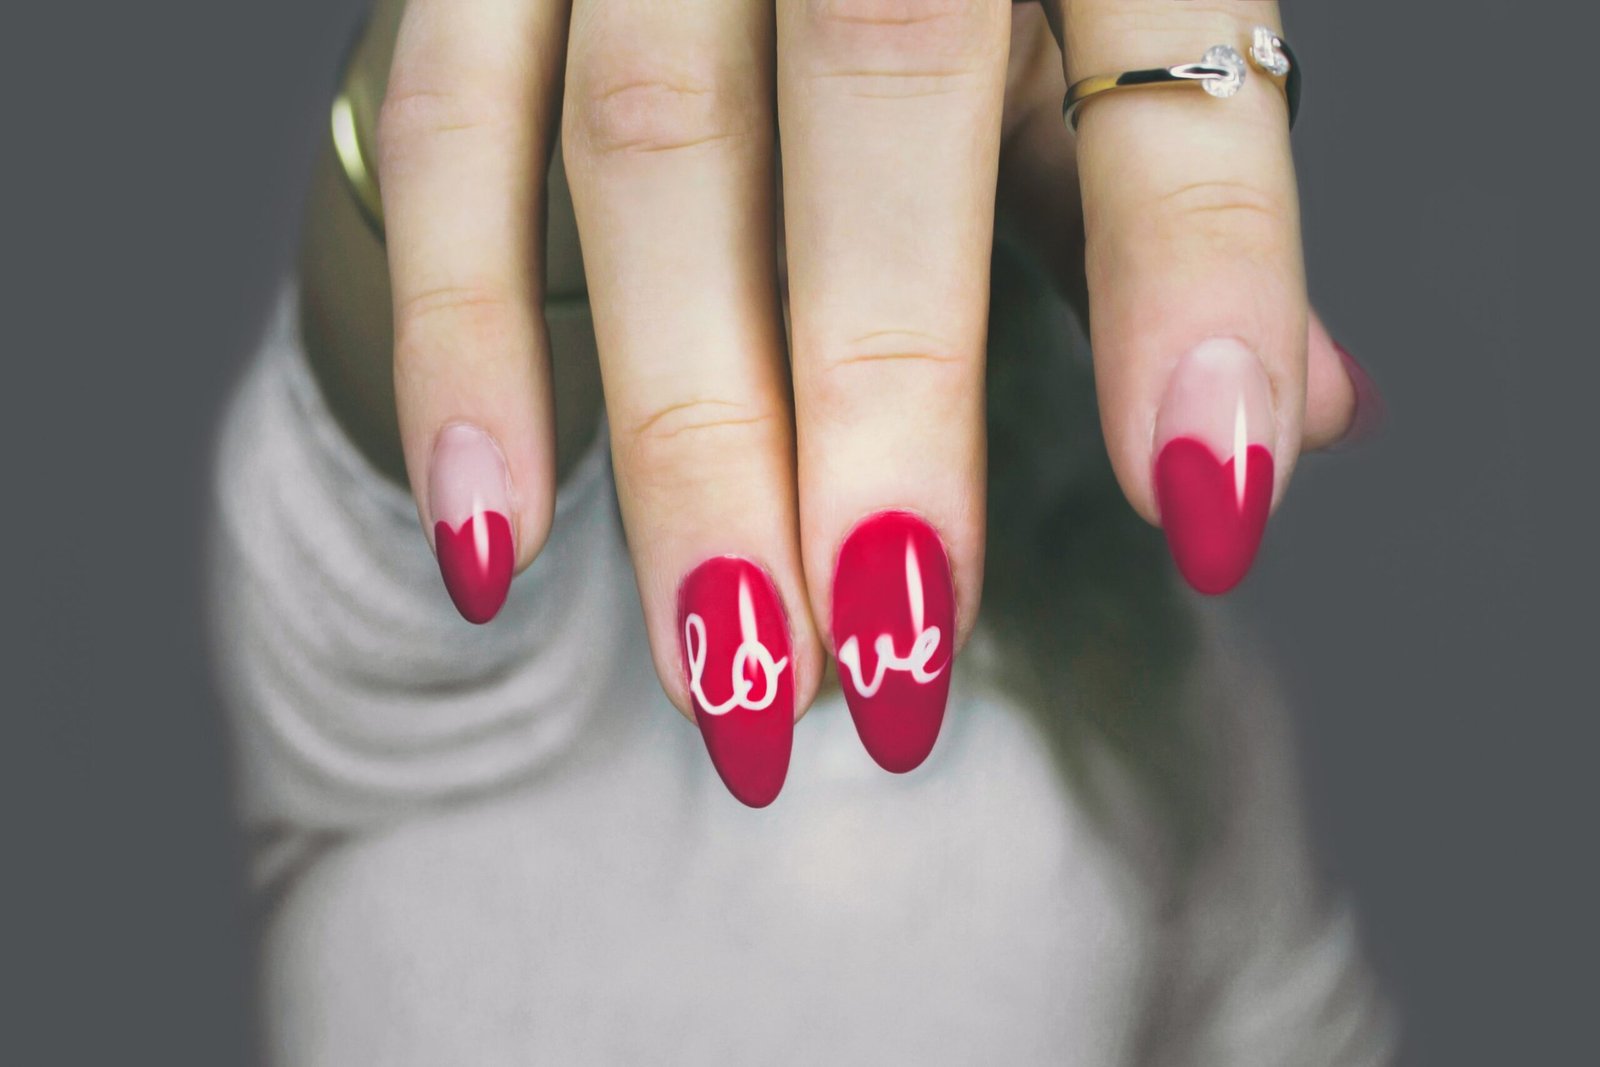
Are you tired of spending a fortune at the salon every time you want to flaunt some fabulous nail art? Well, you’re in luck! With a little practice and the right techniques, you can achieve salon-quality nail art right in the comfort of your own home. In this blog post, we will share some tips and tricks to help you become a nail art pro.
Gather Your Supplies
The first step to achieving salon-quality nail art at home is to gather all the necessary supplies. Here’s a list of what you’ll need:
- Nail polish in various colors
- Nail art brushes
- Dotting tools
- Nail stencils or stickers
- Nail polish remover
- Base coat and top coat
- Cotton pads or swabs
- Clear tape
Prep Your Nails
Before you start creating your nail art masterpiece, it’s important to prep your nails properly. Start by removing any old nail polish using a gentle nail polish remover. Trim and shape your nails to your desired length and file away any rough edges. Apply a base coat to protect your nails and ensure a smooth surface for the nail polish.
Get Creative with Colors
Now comes the fun part – choosing your colors! Experiment with different shades and finishes to create unique nail art designs. You can go for a classic French manicure, try a trendy ombre effect, or go all out with intricate patterns and designs. Don’t be afraid to mix and match colors to create eye-catching combinations.
Master the Techniques
There are various techniques you can use to create salon-quality nail art at home. Here are a few popular ones:
1. Dotting
Dotting tools are a must-have for any nail art enthusiast. Dip the tip of the dotting tool into your chosen nail polish color and gently press it onto your nails to create perfect dots. You can create patterns, flowers, or even animal prints using this technique.
2. Stenciling
If you’re not confident in your freehand skills, nail stencils or stickers are a great option. Simply place the stencil or sticker on your nail and apply the polish over it. Once dry, carefully remove the stencil or sticker to reveal a flawless design.
3. Striping
Clear tape can be used to create clean and precise lines on your nails. Apply strips of tape in your desired pattern and paint over them with a contrasting color. Once the polish is dry, carefully remove the tape to reveal perfectly straight lines.
Finish with a Top Coat
To ensure your nail art lasts and looks salon-worthy, don’t forget to apply a top coat. A good top coat will seal in your design, add shine, and prevent chipping. Apply a thin layer of top coat over your nail art and let it dry completely.
Practice Makes Perfect
Remember, achieving salon-quality nail art at home takes practice. Don’t get discouraged if your first attempts don’t turn out exactly as you envisioned. Keep experimenting, trying new techniques, and honing your skills. With time, you’ll become a nail art pro!
So, why spend a fortune at the salon when you can create stunning nail art right at home? Follow these tips and tricks, gather your supplies, and let your creativity shine. Get ready to show off your beautiful nails and impress everyone with your salon-worthy nail art!


