Introduction
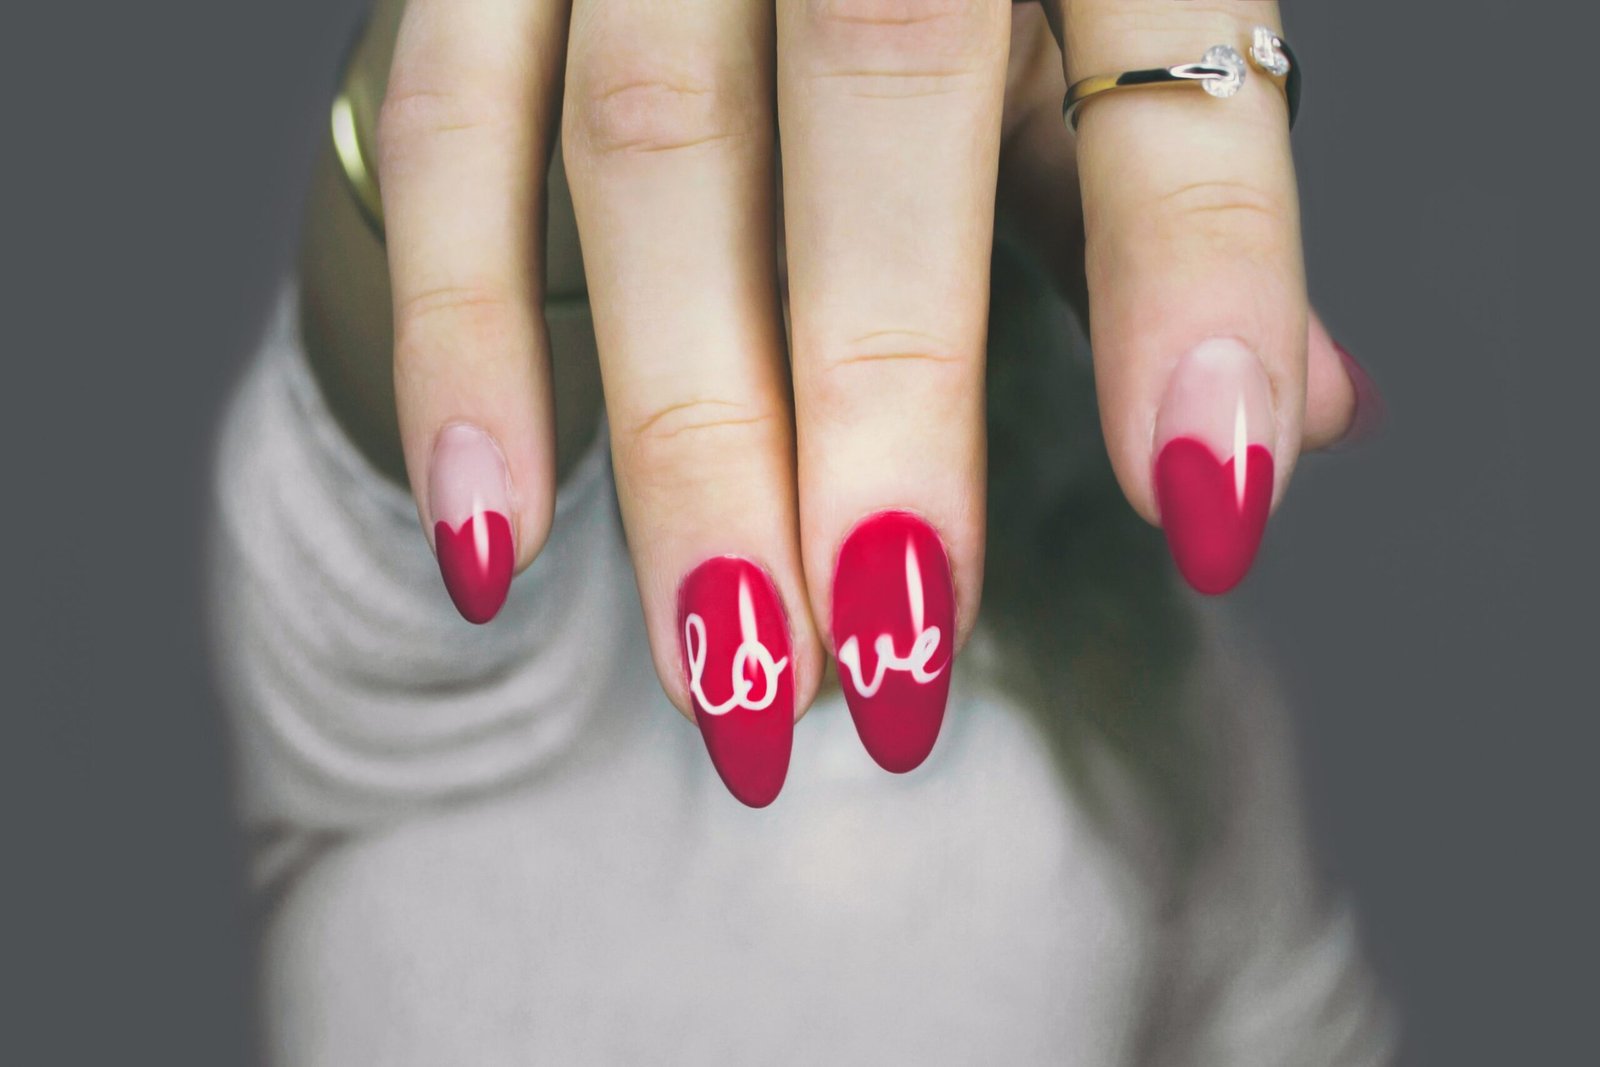
Are you looking to add some creativity and fun to your nails? Nail art is the perfect way to express your personal style and make a statement. Whether you’re a beginner or have some experience, this guide will provide you with easy designs to try. So, get ready to unleash your inner artist and have some nail-tastic fun!
Gather Your Supplies
Before you dive into creating amazing nail art, make sure you have the necessary supplies. Here’s what you’ll need:
- Nail polish in various colors
- Base coat and top coat
- Nail art brushes or toothpicks
- Nail stickers or decals
- Dotting tools
- Nail tape
- Glitter
- Nail polish remover
Easy Nail Art Designs
1. Polka Dots
Polka dots are a classic and simple design that never goes out of style. Start by applying a base coat and let it dry. Then, using a dotting tool or the end of a toothpick, create small dots on your nails. You can use different colors or stick to a monochromatic look. Finish with a top coat for a glossy finish.
2. French Tips
The French tip manicure is elegant and timeless. Apply a base coat and let it dry. Then, using a nail tape guide, create a straight line across the tips of your nails. Paint the tips with a contrasting color and carefully remove the tape. Finish with a top coat for a polished look.
3. Floral Accents
Add a touch of nature to your nails with floral accents. Apply a base coat and let it dry. Then, using a thin nail art brush, create small flowers or leaves on your nails. You can use different colors to create a vibrant floral design. Finish with a top coat to seal in your masterpiece.
4. Ombre Nails
Ombre nails create a beautiful gradient effect that is sure to impress. Apply a base coat and let it dry. Then, choose two or more colors that blend well together. Apply the lightest color as the base and let it dry. Then, using a makeup sponge, dab the darker color(s) onto the sponge and gently press it onto your nails. Repeat this step with the other colors, blending them together. Finish with a top coat for a smooth finish.
5. Glitter Glam
Add some sparkle and shine to your nails with a glittery design. Apply a base coat and let it dry. Then, apply a coat of clear polish and sprinkle glitter onto your nails while the polish is still wet. Gently press the glitter into the polish to ensure it sticks. Finish with a top coat to seal in the glitter and give your nails a glossy finish.
Tips for Nail Art Success
Here are some tips to help you achieve nail art success:
- Practice makes perfect, so don’t be discouraged if your first attempt isn’t perfect.
- Use a toothpick or a thin brush if you don’t have nail art brushes.
- Experiment with different color combinations and designs to find your personal style.
- Apply a top coat every few days to keep your nail art looking fresh and vibrant.
- Take your time and enjoy the process. Nail art is all about creativity and self-expression.
Conclusion
Nail art is a fun and creative way to express yourself. With these easy designs, you can start your nail art journey and create beautiful masterpieces on your fingertips. Remember to have fun, be patient, and let your creativity shine. Happy nail art-ing!


